The Job (What do I want the video to do?)
The most important part of a video is determining why you want to make it. Is your video meant to break up a lesson and entertain students, or is your video meant to teach students? Maybe you’re introducing students to a course or concept so they orient themselves, but you aren’t trying to teach them at that moment. Maybe you like doing announcements in your LMS so the kids see your smiling face.
Make sure you’re clear on why you’re making the video. What do you want the video to do? Consider the following questions:
- Is this video core instruction, or is it for fun and engagement?
- Is this video for a lot of students or only a few?
- Is this video unique to me/my courses, or will this be shared?
- Will this video be used for years to come or only a semester?
- Am I making this video for my enjoyment or because I have to?
The Resources (Who or what can I work with?)
We would all love to make a Hollywood Blockbuster starring Wonder Woman that teaches kids how to write an essay, with an after credits scene on the MLA format. Unfortunately, we don’t all have billion-dollar budgets and Gal Gadot’s good graces.
Instead, we need to consider the resources we have at hand. Do you have a modest budget for software or assets (pre-made images/sound effects), but you can’t hire help? Or maybe you can hire help, but you have no time yourself. For many teachers, you’ll have time yourself, but no budget to speak of.
Let’s break your resources down into three categories:
People: When looking at yourself and your potential collaborators, consider the skill sets at hand. What do you already know how to do, and what seems easy to learn? What are you really good at or comfortable with? Do you want to take an online crash course? Try making a list of skills and rate your confidence from 1-5. If you have a partner, you can put their confidence from 1-5 next to yours to compare.
Assets: You spot an art style you like, an excellent video clip, a funny sound effect, or a picture you really want to show students. Can you put it in your video?! Maybe. There are roughly three kinds of assets: free, paid, and custom.
- Free is the easiest — there are no royalties required, and you may have to give credit, but not much more. You can find free assets in places like Wikimedia Commons, Pexels, and Unsplash. Your school might also have access to a service like Storyblocks or Soundstripe, which are paid subscriptions for the business but have no limit on assets while you’re subscribed. Try googling “royalty free X” and see what you find. You can also just ask permission. One of the great things about working in education is that people are often pretty cool about having their work in classrooms.
- Paid is harder — you need a budget for this one. As you might expect, you’ll usually get higher quality assets and more options than taking the free route. The main thing to keep in mind with paid assets is to make sure that you love it. If you don’t love it, you can probably find a free alternative that will do just fine. Paid assets are readily available, from one-time purchase services like Adobe Stock and ProSoundEffects, to aforementioned subscription services like Clipart where every asset is free after the buy-in fee. Ultimately though, paid assets should be uniquely suited to your video’s needs, or you shouldn’t be paying for them. When they’re used right, paid assets can really take your work to the next level.
- Custom is the hardest — you need a big budget or the right skills. Custom assets are really about people. Do you have the right people to make the right assets for the job? If you’ve got an artist or designer handy and the resources to spend, custom assets can give you the very best results for your video. Even more than with paid assets, make sure that any custom assets are what your video absolutely needs to thrive before making this kind of commitment.
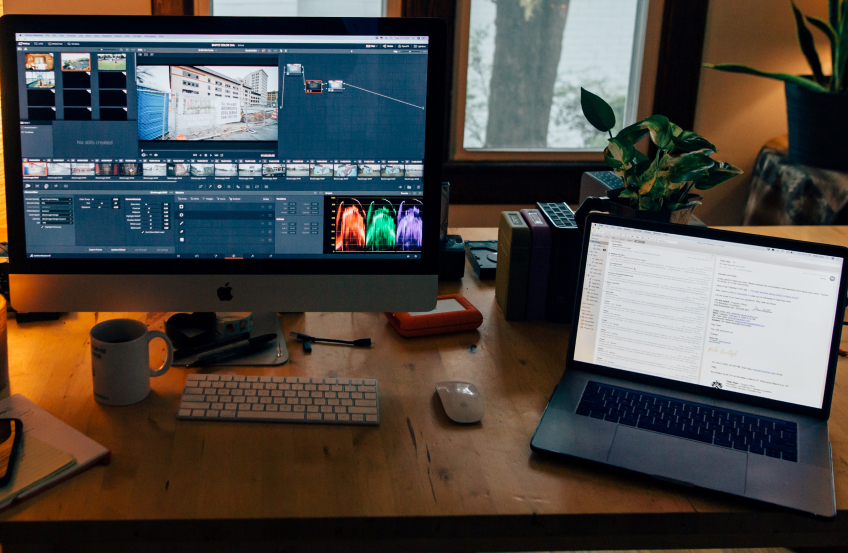
Software: You’ve got the people, you’ve got the assets, and now you’ve got to put them together. Do you know how to use some software already? Do you want to do everything in one software program, or can you juggle a few? How much are you willing to learn? Are you paying someone else who knows the software? Will your school pay for software that you can use, or do you need something free?
You can think of software in terms of what role it fills and what it costs. Think through everything you need to do to make the video, step by step. Consider the software that you have access to, and whether it does what you need. If you need more than one program, think about how you’ll export and import files from one program to the next.
There’s a table at the end of this article going over options if you’re looking for ideas. However, I recommend choosing something familiar whenever you can. Unless you’re going to be making a lot of videos, don’t commit yourself to a 10-week certification course.
The Style (What style gets the job done with what I have?)
You know the job. You’ve locked down the resources. Finally, you can look at the video style. By this point, you probably have some ideas forming on the kind of video you want to make. Do you want an animated whiteboard style video, like in StudyForge’s 160+ video STEM courses? Maybe that’s too much and you’d like to record yourself with a screen capture? Are you thinking that basic video editing and moving a few pre-made images around the screen is a good middle ground?
Keeping all this in mind, let’s consider your video style options.
Video styles that take a few resources:
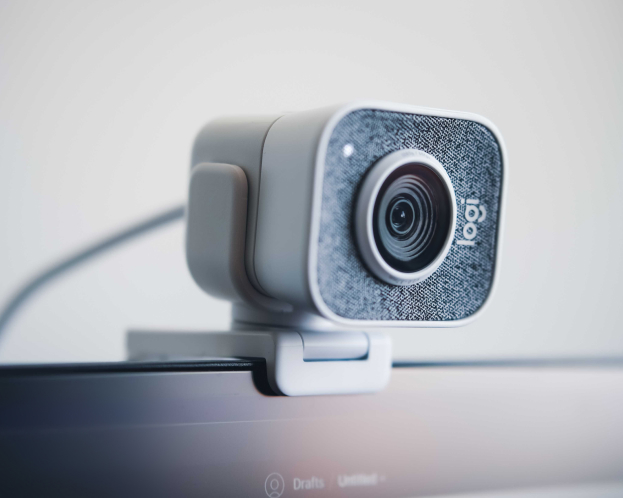
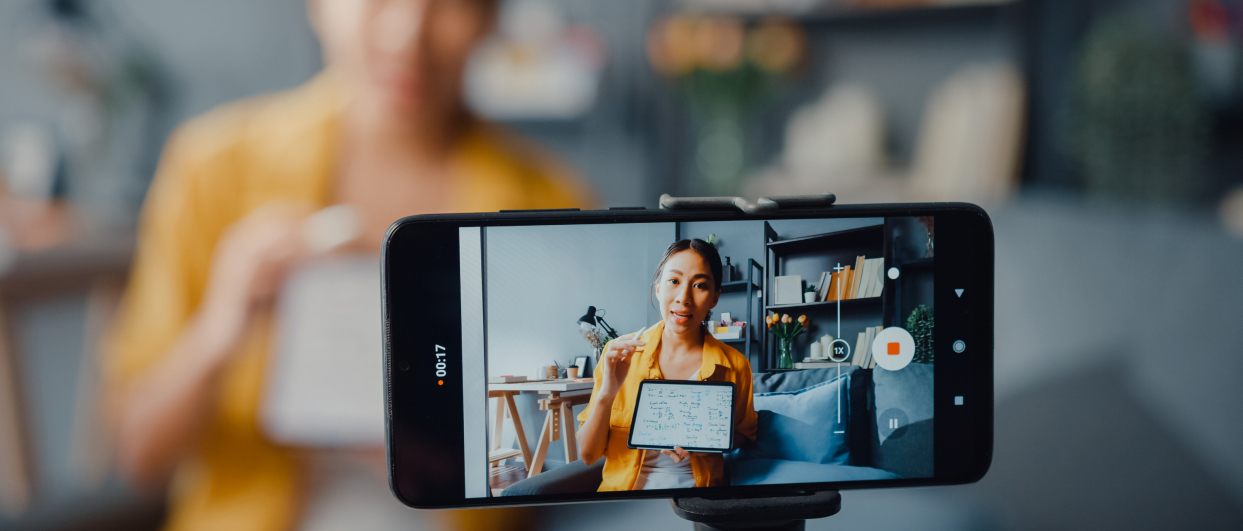
- Webcam Recording: You flip on a phone camera or a webcam and just start rolling. This is the easiest way to go and can be done for free with common resources. It’s easy to make modest improvements using blanket forts for sound and finding good lighting. If you’re an energetic lecturer, this can be a great option! This style is at its weakest when overused or unengaging, which can give students attention fatigue.
- Screen Recording: You record your screen, sometimes while also recording yourself. This is a great, cheap solution for solving math problems. This can be a weaker style when trying to hold a student’s attention for a long time without ideas you can write out, though. Remember Rule #4 from our 5 Rules: draw the eye’s attention every seven seconds.
- Slideshow: You have an audio recording that you’re happy with, and you have some images for the students to look at while you’re lecturing or making an announcement. Slideshows make for a great way to liven up basic text without dealing with cameras, but they can also grow tedious for students when overused.
- Simplified Video Programs: You want to make a particular video style and don’t care about having full creative freedom. There are a lot of programs out there that make just one style of video, but they make it easy enough that anyone can do it. By limiting your creative options and giving you templates, programs like Doodly, Animaker, Moovly, and Movavi lower the entry level for making great looking videos.
- More video styles that only take a few resources include: Vlogs, Kinetic Typography, and Photo Montages.
Video styles that take mild resources:
- Short Animation: You want to get one concept across just right, if only you could animate it. There are some ideas that just *click* when they’re animated. Alternatively, you want to really wow your students to make a particular idea pop. As with any animation, this style takes some investment. If you can really target the exact idea you want to convey, a short animation can be a judicious use of resources.
- Asset Editing/Manipulation: You have images and sound effects, but you don’t want to just put them up and take them down, like in a slideshow. You want them to move and jump and play and pounce! You won’t draw a picture of Sir Isaac Newton, but you will have the picture bob up and down on-screen. This video style is a good way to make engaging videos without investing in unnecessary custom assets.
- Mixed Style: You like screen recordings and short animations and moving pictures around the screen, so you’ll do it all! Maybe you’ll record yourself talking, then show a short animation, then have images pop up on screen as you keep talking. Depending on how much you mix in, this style can grow to take considerable resources. However, it also gives you the chance for the best of all worlds. Before choosing a mixed style, be wary of becoming a project manager by accident. You can end up spending more time coordinating a team than making the video.
Video styles that take considerable resources:
- Live Action: You’ve got a camera, lights, an actor, and a studio. Maybe you will make that Wonder Woman movie about writing essays afterall. Live action videos are the best version of recording yourself. You might even use props to enhance the experience. This style can be hugely engaging without requiring the skills to make animated videos. Live action videos can be incredible, but they take a lot of work. Do research, make a plan, and make sure that the job is worth it.
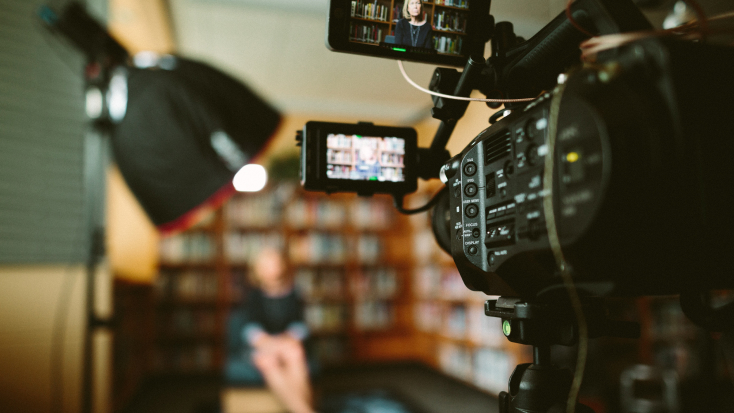
- Special Effects: You take your live action videos to the highest level with post-production animation. By combining the powers of actors and visual effects artists, you create truly awesome videos. This video style takes your live action videos and adds infographic overlays, color grading, or environmental effects. This is where you might use green screens, letting you change the background. This video style is as resource intense as you’ll get in education. However, for videos on critical topics that will be used widely for many years, this can still be the right choice.
- Full Animation – Whiteboard: You want to control everything the student sees and make sure it’s going to communicate the idea exactly. At StudyForge, we call this a whiteboard style animation. It’s similar to a whiteboard at the front of a classroom, except that it’s designed with total intention and control to help the student really understand what’s happening. This is a difficult kind of video to get right, and it’s resource intensive, but if you pull it off, it can have the most effective pedagogy.
- Full Animation – Freeform: You want to introduce concepts that you’ll explore later, or you want to draw students into a course or concept with a flashy introduction. At StudyForge, we call this a freeform style animation. The primary purpose isn’t always to teach the student in that moment but rather to prime them for the learning to come. A student hooked on a good frame of reference can feel more comfortable filling out ideas later on.
The Choice
Now that we’ve explored the job, the resources, and the style, it’s time for us to make the choice.
If you only take away one thing from this article, make it this: The best video style is the one that gets the job done with the resources you have, while making you smile. The art of the video style, as with many things, is about balancing the video’s job and the available resources. It’s also critically important that it sparks joy in you. As I mentioned in How do I choose an LMS? last year, asking yourself whether you’re stressed or you smile as you spend time with your options can help you choose one that you’ll be happy sticking to. Passionate, motivated work is better work!
When you choose, consider the job and resources:
- If the video’s job is talking to your class about announcements, or you’re only getting started making videos, then a simple recording or a slideshow is a great idea.
- If the video’s job is teaching an idea and you want to keep the video around for a few years, and if you think you’re up to something more advanced, then trying out asset editing or a short animation might be right for you.
- If you’ve been doing recordings for years and you want to spice it up, then you could try a mixed style — adding in Frederick the Great bouncing across the screen, or adding a background of a frog diagram as you act as a weatherman.
- If you’re making proper curricular content that will be used widely and for a long time, investing in live action or full animation might be the way to go. Before you do, ask yourself if you can still get the job done with less. You often can!
Ask the questions: What do I want the video to do? Who or what can I work with? What style gets the job done with the resources I have? What makes me smile?
Find the answers to these questions, and you’ll have found which video style to choose. Good luck!
Software Table
Video Editing Software
Role
Cost
Free
Subscription
One-Time Payment
- Phone Apps
- Zoom
- Audacity
- Phone Apps
- Adobe Premiere Rush
- DaVinci Resolve
- Lightworks
- iMovie* Only for Apple users.
- Movavi Slideshow Maker 6* Only for slideshows.
- Doodly
- Camtasia Pro
About the Author